
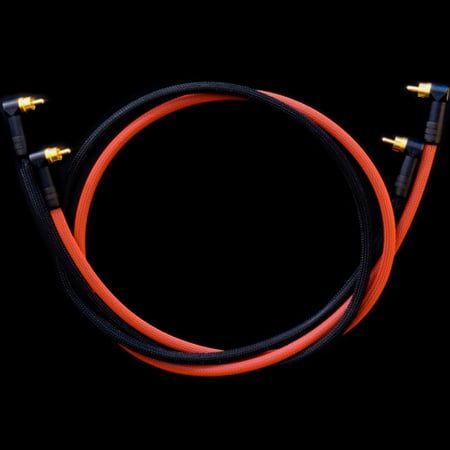
Bottlenect RCA Interconnect Assembly Instructions
Tools and supplies you will need for assembly:
- A “third hand” tool
- Wire cutters
- Wire strippers
- A sharp blade or coaxial wire stripper
- Soldering iron, minimum 40W rating
- Your favorite solder
- You may find a desoldering tool or desoldering braid useful
- A Multimeter
The supplied components:
- 4 – Right angle RCA plugs
- 1 – piece TechFlex Black, cut to the length ordered
- 1 – piece TechFlex Red, cut to the length ordered
- 2 – piece coaxial cable, cut to the length ordered
Assembling the Bottlenect Interconnects
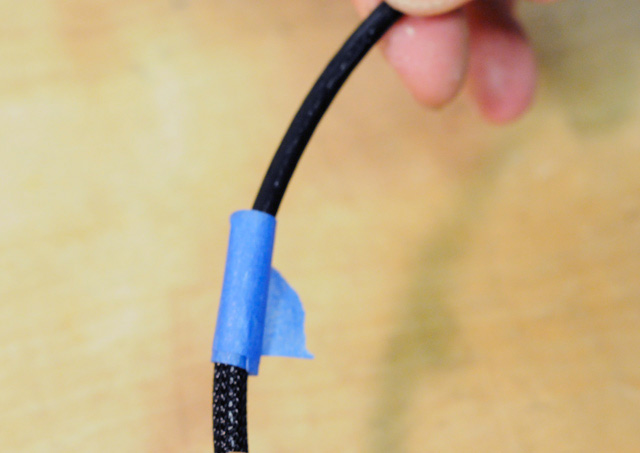
1. Loosely tape one end of a piece of Techflex with masking tape. The goal here is to let the end expand into the tape as you insert the cable. If you do not tape the end, it may unravel as it expands. Insert the cable through the Techflex, leaving 1/2″ (12mm) of cable outside of the un-taped end.
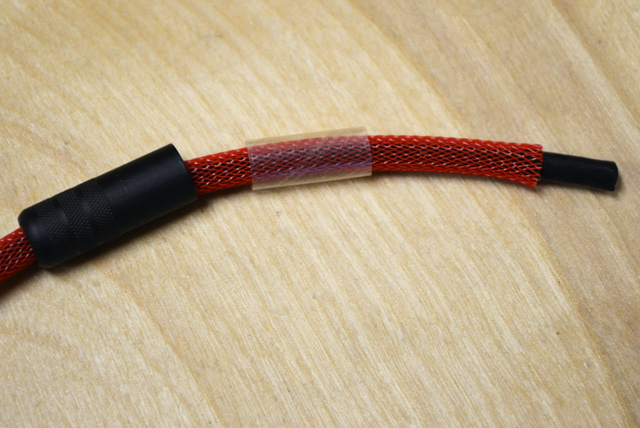
2. Remove the barrels of two RCA connectors, making sure to remove the clear insulating sleeves with the barrels. Push the barrels and insulating sleeves onto the Techflex wrapped cables, making sure the threaded opening faces the cable ends.
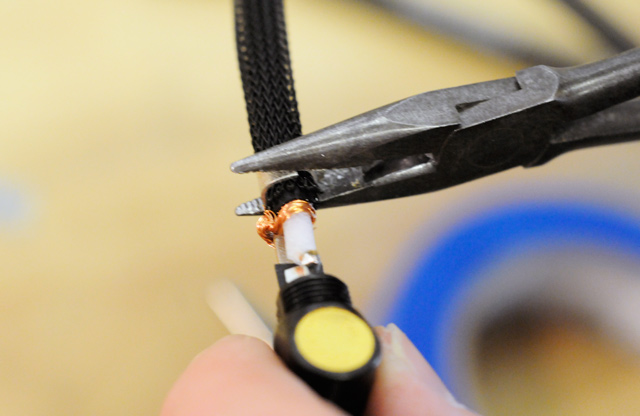
3. Strip the outer insulation of the cable back 1/2″ (12mm) using either a sharp blade or a coaxial cable stripper. Use caution when stripping to avoid cutting any of the delicate wires of the copper braided shield. Unravel and peel back the exposed braid, then twist the wires into a single grouping. Strip the inner conductor 1/4″ (7mm). Attach and solder the inner conductor the tab connected to the center pin tab.
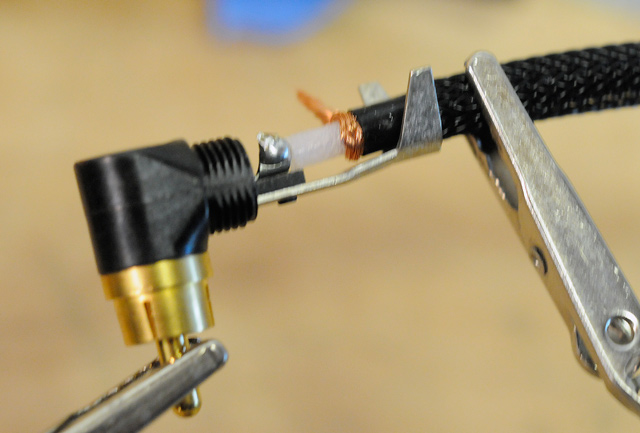
4. Use a pair of pliers to clamp the prongs at the end of the plug around the cable and Techflex.
5. Solder the twisted braid to the main metal support connected to the RCA shell. Take care to keep this joint relatively small and smooth to allow the outer barrel to pass easily over the plug.
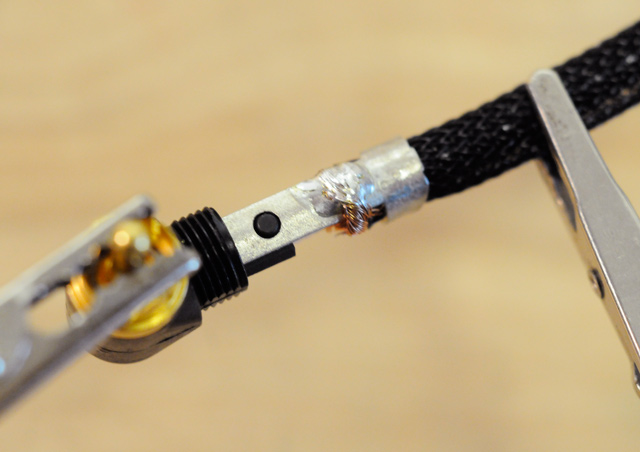
6. Slide the plastic insulator over the plug.
7. Finally, screw the outer barrel into place.
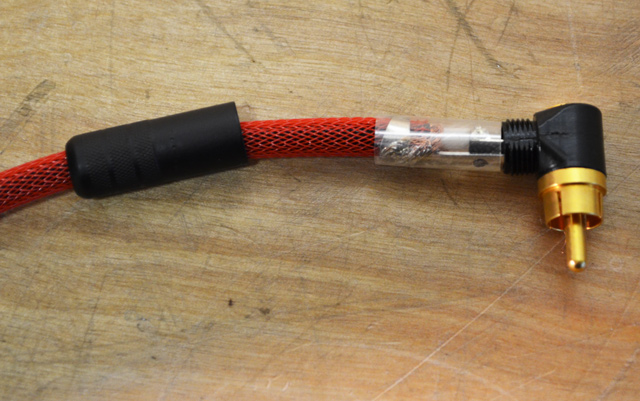
Remove the tape from the Techflex, and trim the other end of the cable to extend 1/2″ (12mm) past the Techflex. (NOTE: the length should be pretty close as the kit is shipped) Strip and solder this end using the same method. Repeat for the second cable. Use your multimeter to check for continuity pin-to-pin and shell-to-shell, making sure the pin and shell are not shorted together.
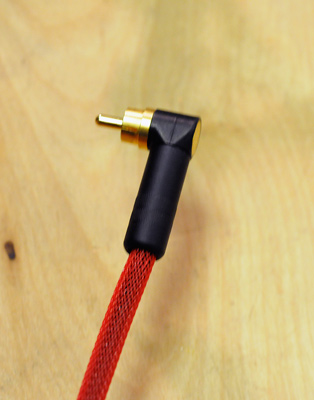
Plug in and enjoy!